REVIEW · HOBART
Mt Wellington Ultimate Afternoon Tour
Book on GetYourGuide →Operated by Gray Line Tasmania · Bookable on GetYourGuide
Mt Wellington rewards even bad weather, up close. This fully escorted coach tour brings you straight into the alpine zone with live guide commentary, and it saves your energy with maximum time at the summit when conditions are right. I also love how the itinerary doesn’t stop at the viewpoint—there’s a guided run through the Exhibition Gardens plus a look at the Female Factory exterior ruins. One catch: if the day turns cloudy, you may ride up to Mt Wellington and find yourself in thick cloud rather than the full panorama.
I like that the pace is structured but not rushed: you get short, purposeful stops (photo breaks, short walks, and guided segments) while the coach handles transit between sights around Hobart. You’ll also want to dress for winter reality—warm layers and comfortable shoes matter because you’ll be walking outdoors in cool, exposed conditions.
In This Review
- Key things to know before you go
- Mt Wellington’s views are the point, but the ride makes it work
- Getting from Brooke Street Pier to Kunanyi is half the convenience
- The ascent: Organ Pipes, scenic stops, and short walks that don’t drain you
- Summit time and the Observatory: more than a photo stop
- Exhibition Gardens at the Springs: easy walking with a guided focus
- Western Wilderness Lookout: self-guided time for photos and breathing room
- Cascade Gardens and the Female Factory exterior: nature plus a human story
- South Hobart return route: the quick city transfer back to the pier
- Price and value: why $42 can be a smart deal here
- What to wear and how to handle the weather (clouds included)
- Who this tour suits best (and who might prefer a different pace)
- Should you book this Mt Wellington Ultimate Afternoon Tour?
- FAQ
- How long is the Mt Wellington Ultimate Afternoon Tour?
- Where does the tour start?
- Is hotel pickup included?
- What is included in the tour?
- Is food included?
- What weather should I plan for?
- How much does it cost?
Key things to know before you go
- Live commentary on a premium coach keeps the day flowing and helps you understand what you’re seeing
- Maximum summit time gives you a real chance to catch the views when the weather cooperates
- Guided Exhibition Gardens walk adds an easy, scenic leg-stretcher to the alpine experience
- Organ Pipes and Wellington Park photo stops break up the drive with standout photo moments
- Western Wilderness Lookout is self-guided so you can set your own pace for photos and wandering
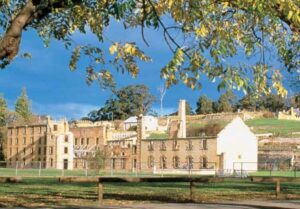
- Cascade Gardens plus the Female Factory exterior connects nature views with Tasmania’s convict-era story
Mt Wellington’s views are the point, but the ride makes it work

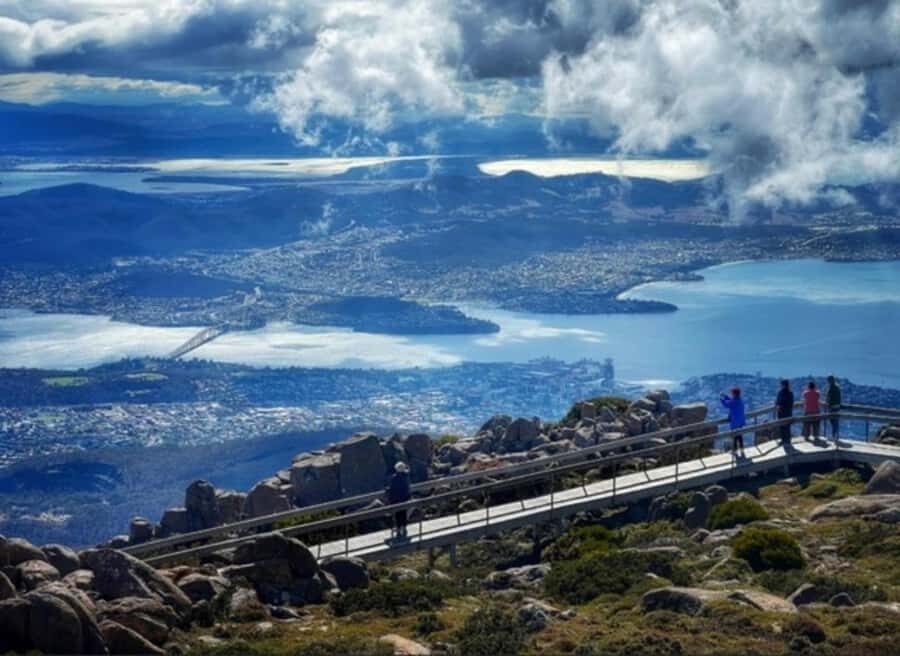
Mt Wellington, also called Kunanyi, is the kind of place where the scenery changes as you go. You move from lower country into harsher alpine air, and that shift is part of what makes this tour feel worth your time—even if you don’t get perfect visibility.
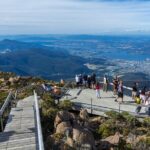
On a clear day, the summit experience is built around panoramic views of Hobart City and surrounding suburbs, with the Derwent River and wider waterways stretching out beyond. The tour also specifically sets you up to appreciate the wider context of the Tasmanian Wilderness World Heritage Area—so it’s not just a quick look, it’s an explanation-driven visit.
If the weather closes in, you’ll still be there at the highest point you can reasonably reach on a short afternoon. It’s just that you may be looking at cloud instead of coastline. That’s why I recommend dressing like you’ll be outside longer than you expect.
You can also read our reviews of more tours and experiences in Hobart.

Getting from Brooke Street Pier to Kunanyi is half the convenience
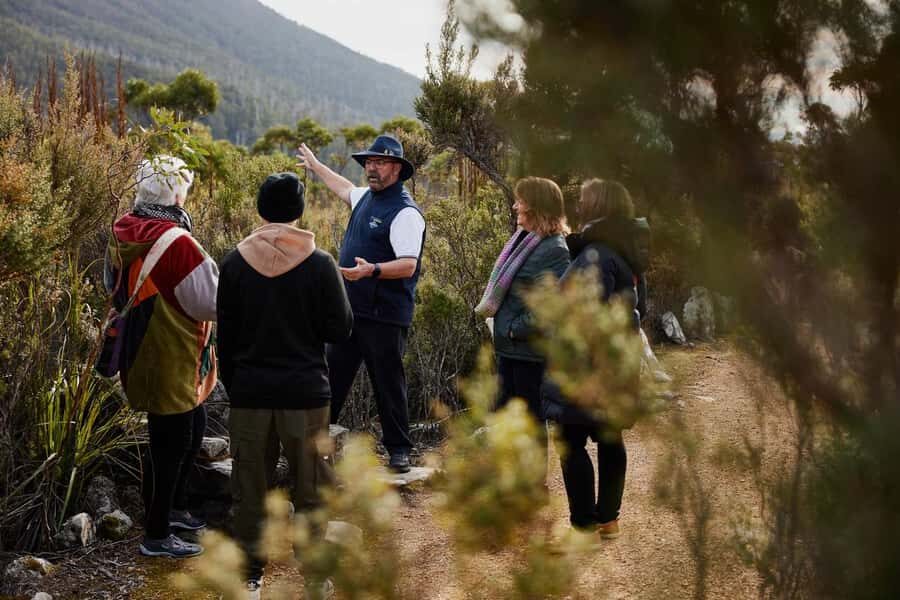
Your day starts at the Brooke Street Pier with check-in at the Day Tours desk inside the pier building. Then the coach handles the commute (about 40 minutes) so you’re not trying to solve parking, timing, or road access on your own.
What I really like here is that the driver/guide isn’t just a chauffeur. The tour is fully escorted with live commentary, so during the drive you get the why behind the where—how the environment changes, what to look for as you climb, and what the key landmarks mean once you’re close.
This kind of “coach plus guide” format is also great value because it bundles a lot of stops into one tight loop. For $42 per person, you’re basically buying three things at once: transport, guiding, and a planned sequence of viewpoints and garden time.
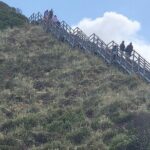
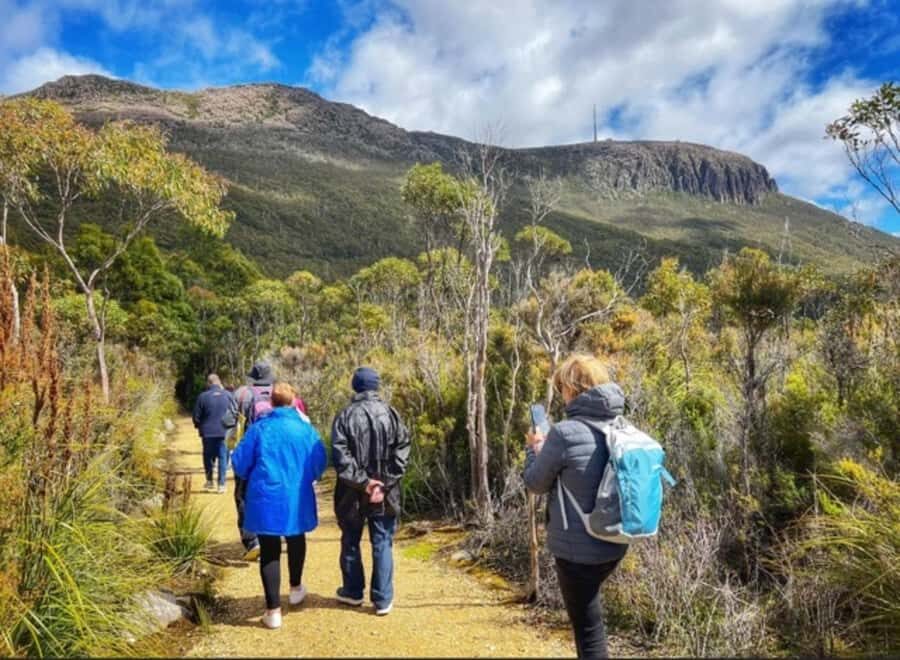
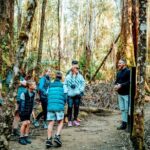
The ascent: Organ Pipes, scenic stops, and short walks that don’t drain you
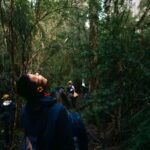
As you head up, you’ll pass the Organ Pipes rock formation, one of the mountain’s most distinctive natural features. The tour builds in a photo stop and a bit of sightseeing along the way, so you’re not stuck looking only from inside the coach.
Then there’s a quick stop at Wellington Park (about 15 minutes). This is the kind of time you can use well: a short guided look, a photo break, and a walk that helps you reset before the summit.
Why this pacing matters: Mt Wellington weather can shift fast, and the day can get cold quickly once you’re higher up. Short, guided stops keep you moving just enough to stay warm (or at least not freeze in place), while still giving you time to get your bearings.
Also, because this is an afternoon tour, you’re working against daylight limits. These timed breaks help you see the highlights without burning your evening.
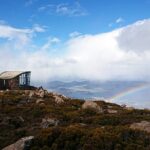
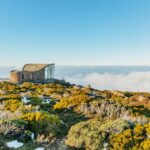
Summit time and the Observatory: more than a photo stop
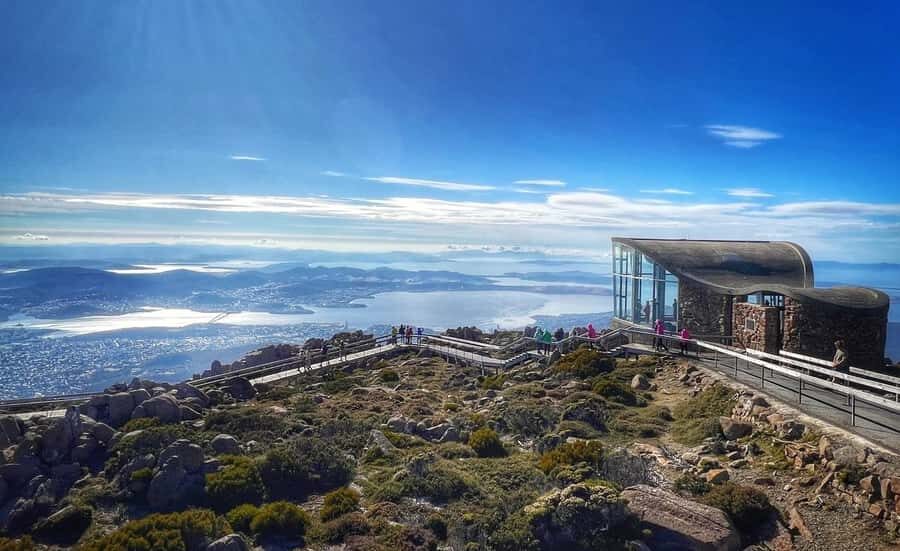
The best part is the summit itself, and this tour is designed around maximum time at the top. That’s important because views are weather-dependent. If you only had a brief moment, cloudy conditions would turn the whole day into guesswork. Here, you’re given the time buffer to wait out a lull—or at least enjoy the mountain environment up close.
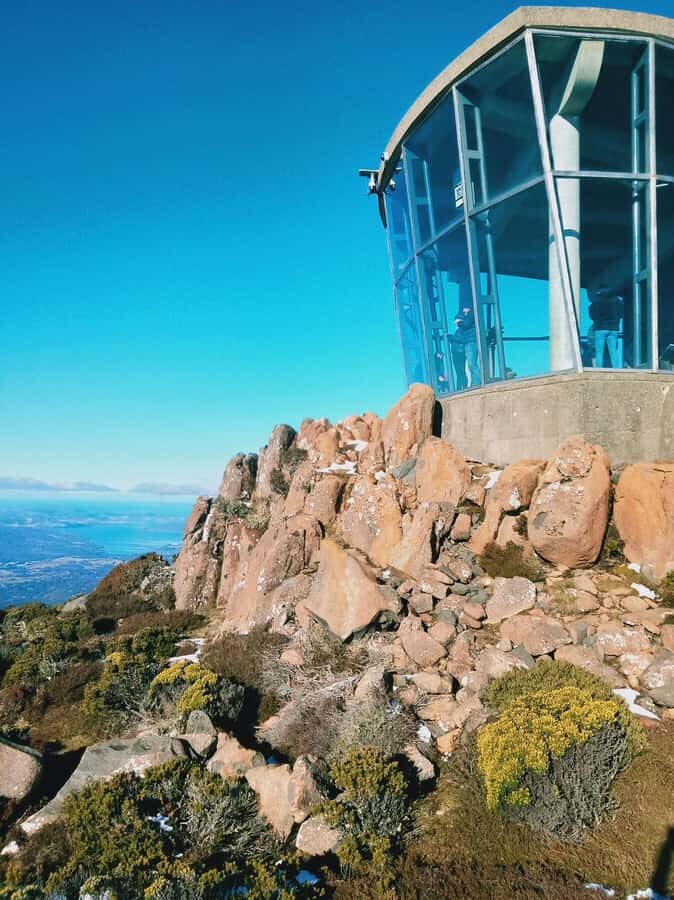
Once you’re up there, you join the escorted tour of the Observation deck and Interpretation Centre. This matters because it turns the view into understanding. Instead of standing on a platform with no context, you’re learning what you’re seeing and what the mountain represents in the region.
And yes, in winter you might have snow around (or at least winter conditions). The point isn’t whether you’ll get snow. The point is that this tour is prepared for a real alpine experience, not a casual “step outside and back on the bus” moment.
One extra tip: if you notice the clouds thinning, don’t waste time checking your phone. Get yourself positioned early and be ready to shoot, because weather can change quickly.
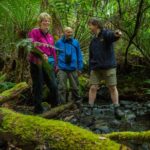
Exhibition Gardens at the Springs: easy walking with a guided focus
A lot of Mt Wellington trips stop after the summit and call it a day. This one keeps the momentum with a guided Exhibition Gardens walk at the Springs.
This segment is included as a circuit, and you’ll spend time moving through the gardens with guidance. I like this because it balances the alpine exposure. You’ve had your cold, wind, and altitude moments, and then you’re walking at a more comfortable pace—still scenic, but less punishing.
There’s also a special mid-way stop at the Springs where you can buy a hot drink if available. It’s not guaranteed, but it’s a nice perk when the air is chilly. Even if you skip it, this pause gives you a chance to warm up and regroup.
If you’re the type who enjoys structured strolling—where someone points out what you’re looking at—this garden portion is a smart inclusion.

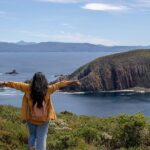
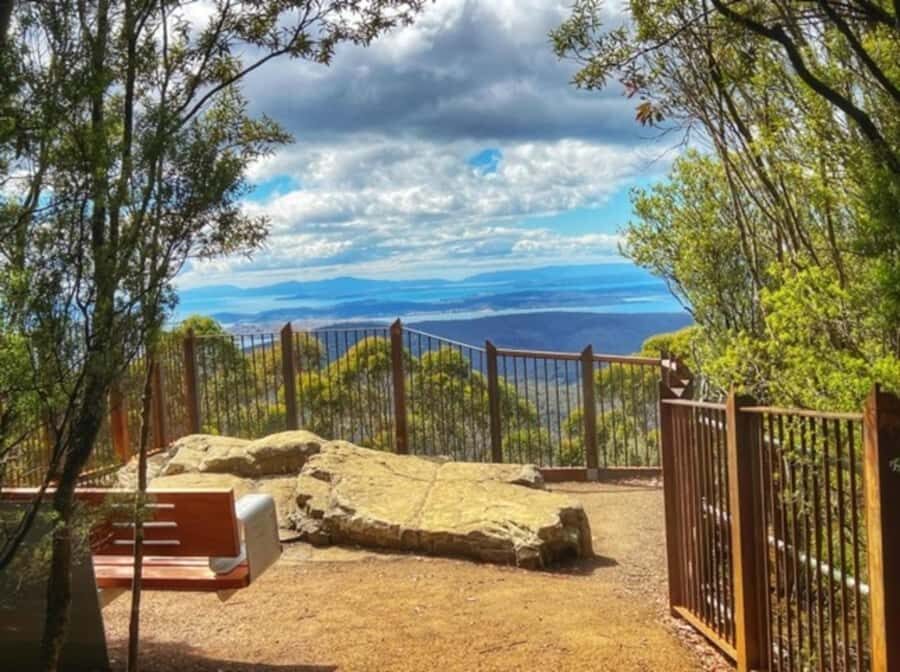
Western Wilderness Lookout: self-guided time for photos and breathing room
After the gardens, the tour includes a stop at the Western Wilderness Lookout, with a self-guided walk. I like that the schedule gives you a bit of independence here. Guided time is great, but your eyes also need free moments to roam.
Use this time for what you care about:
- photography from angles that look best to you
- quiet pauses to watch weather and light shift
- slow walking if you’d rather take in the air than listen to facts
Because it’s self-guided, you can move at your own pace. Just keep an eye on footwear and traction—lookouts can be exposed, and you may be on uneven paths.
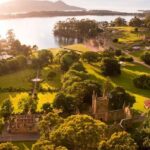
Cascade Gardens and the Female Factory exterior: nature plus a human story
After coming down from the mountain, you’ll head to Cascade Gardens. You get time to wander here (about 15 minutes), including a guided visit and walk plus a photo stop.
Cascade Gardens give you a softer, more garden-focused view after the alpine sharpness. It’s the kind of stop that works even if you didn’t get fully clear summit views—because you’re still getting something photogenic and enjoyable.
Then the tour includes a brief visit to the Female Factory exterior ruins. The point isn’t a deep dive into convict history on-site, but you do get insight into the lives of women convicts who were imprisoned there. That adds emotional weight and meaning to the day, so it’s not just “look at scenery, take photos, go home.”
This mix—alpine wonder plus convict-era context—makes the route feel more memorable than a standard viewpoint-only trip.
South Hobart return route: the quick city transfer back to the pier
You’ll pass through South Hobart by coach (about 15 minutes) and then return to Brooke Street Pier. That final loop is useful because it ties your day to the city without dragging it out. You get your views, your walking, and your history stops, and you still end near where you started.
If you’re thinking of eating afterward, this is a good time to plan ahead. The tour itself doesn’t include food, so you’ll likely want dinner arranged once you’re back at the pier area.
Price and value: why $42 can be a smart deal here
At $42 per person for a 210-minute (about 3.5-hour) afternoon tour, the value comes from what’s packaged together:
- Premium coach touring with live commentary
- Escorted segments up at the summit, including the Observation deck and Interpretation Centre
- Guided Exhibition Gardens walk (not just “walk around on your own”)
- Stops that connect multiple places: Wellington Park, Cascade Gardens, Western Wilderness Lookout, plus the Female Factory exterior
If you tried to stitch this together independently—getting up to Mt Wellington, timing viewpoint stops, and paying for any guided interpretation—you’d likely spend more in time and money. Here, the structure is the product, and you’re paying for that structure.
My practical take: this tour is a particularly good deal if you don’t have a car, you want a guided explanation, and you’re only in Hobart for a short window.
What to wear and how to handle the weather (clouds included)
Mt Wellington can be cold, windy, and fast-changing. Even on a “clear day” plan, don’t assume the summit will match your expectations from town.
I’d pack and dress like this:
- comfortable, grippy shoes for outdoor paths
- warm layers you can add/remove
- a windproof outer layer
- a camera plan that doesn’t rely on perfect visibility
If the summit ends up in cloud, you’ll still experience the mountain environment. But your best strategy is to be ready to move quickly when the sky opens.
One real-world example from the ride experience: a guest had poor weather and found the top covered in cloud, with no sightings of wildlife they’d hoped for. Even then, the driver still provided a great city view moment as conditions shifted. That’s a good reminder that the day is partly about how you respond to what weather gives you.
Who this tour suits best (and who might prefer a different pace)
This is a strong fit if you:
- want an escorted Mt Wellington experience without driving
- like guided context, not just self-guided looking
- want a short afternoon plan that includes both gardens and a historic stop
- don’t have time to do a full day trip to multiple regions
It may be less ideal if you:
- want total freedom to linger for long stretches at each spot
- hate cold weather walking, even short distances
- have a very tight schedule for dinner and need an earlier return
Also, because you’re walking outdoors at several stops, plan for some cold and uneven ground.
Should you book this Mt Wellington Ultimate Afternoon Tour?
Yes—if you’re visiting Hobart and you want a guided, efficient way to reach Mt Wellington and come back with more than just a single viewpoint. The combination of maximum summit time, the Observation deck and Interpretation Centre tour, and the extra stops around gardens and the Female Factory exterior makes it feel like a complete experience for the price.
I’d book it especially if you value structure, live commentary, and short guided walks. Just go in with the right expectation: weather can limit the panorama, but the day still gives you a real alpine outing plus scenic gardens and a meaningful historical context.
FAQ
How long is the Mt Wellington Ultimate Afternoon Tour?
The tour lasts about 210 minutes (around 3.5 hours).
Where does the tour start?
It starts at Brooke Street Pier. Check in at the Day Tours desk inside the pier building.
Is hotel pickup included?
No. Hotel pick-up and drop-off are not included.
What is included in the tour?
It includes premium coach touring with live commentary, an escorted tour to the Observation deck and Interpretation Centre, a guided Exhibition Gardens walk, time to wander Cascade Gardens, a look at the exterior ruins of the Female Factory, and a stop at Western Wilderness Lookout. There’s also a special stop half-way at the Springs where you may be able to purchase a hot drink if available.
Is food included?
No. Food and beverages aren’t included.
What weather should I plan for?
The tour is designed for alpine conditions. You’ll want warm clothing and comfortable footwear. Weather can affect visibility from the summit.
How much does it cost?
It costs $42 per person.