REVIEW · HOBART
Hobart City Sightseeing Tour including MONA Ticket
Book on GetYourGuide →Operated by Gray Line Tasmania · Bookable on GetYourGuide
Hobart sets the scene, then MONA goes off-script. This is an easy, one-day combo of coach sightseeing with live guide commentary plus a modern ferry ride on the Derwent so you’re not stuck doing everything at your own pace.
I really like how the guide-led drive-by stops give you names to remember: Sullivan’s Cove, Parliament House, Salamanca Place, Battery Point, and more. If you’re the type who wants the “why” behind the landmarks, you’ll get it, and the guides here are often praised for stories and even humor—names like Brody, Mark, Hugo, Tim, Phil, Evan, Neil, and Barry come up when people talk about strong guiding.
One thing to consider: the day is packed, so the museum-and-gardens timing can feel tight, and MONA’s style can be intense if you don’t like dark rooms and unusual art formats.
In This Review
- Key things to know before you go
- From Brooke Street Pier: getting your bearings fast
- The Hobart coach circuit: Sullivan’s Cove to Salamanca Place
- Cascade Gardens and the short stretch of South Hobart
- Tasman Bridge and Rosny Hill: where the views do the talking
- Royal Tasmanian Botanical Gardens: a break that’s worth timing
- Ferry transfer to MONA: the Derwent as your reset button
- MONA: 3 hours, free time, and how to pace it
- Timing and comfort: getting the most from an 8-hour loop
- Who should book this Hobart + MONA day tour
- Should you book Gray Line’s Hobart City Sightseeing + MONA?
- FAQ
- Where do I meet the tour?
- How long is the experience?
- Is MONA entry included?
- How do I get to MONA?
- Is hotel pickup included?
- How long do I have at MONA?
- What is the cancellation policy?
Key things to know before you go
- You get an organized Hobart overview with a local guide, including major waterfront and city landmarks
- Cascade Gardens and Royal Tasmania Botanical Gardens are built in, with a short walk at Cascade and a longer break at the gardens
- Panoramas from Tasman Bridge + Rosny Hill lookout make great photo moments and an easy way to orient yourself
- A comfortable ferry on the Derwent River handles the transfer to MONA, which feels like a breather instead of another bus hour
- MONA entry is included, with about 3 hours of free time to explore at your own tempo
- The transport type can vary for operational reasons, so don’t assume the vehicle will always be the converted tram
From Brooke Street Pier: getting your bearings fast
Your day starts at Brooke Street Pier, at the Gray Line day-tours desk inside the Brooke St Pier Building. It’s a smart meeting point if you’re already in central Hobart, and it keeps the schedule simple: no hotel pickup waits, no complicated “meet at the lobby” dance.
What I like most about starting at the pier is the mindset shift. You’re already near the water. Even before you leave, you can feel how Hobart is shaped by the harbor and the river—then the tour leans into that right away with viewpoints later in the day.
You’ll end back at Brooke Street Pier around 17:30, so you’re not stuck wondering where the day dumps you. It’s a full day—just not a full-day stress.
You can also read our reviews of more tours and experiences in Hobart


The Hobart coach circuit: Sullivan’s Cove to Salamanca Place
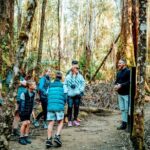
Once you’re on board, you’ll get a live guided city tour that covers Hobart’s highlights and history-based context. The pacing is built for first-timers: you see a lot from the coach, then get a few short stops where it’s worth stretching your legs.
This is where the guide makes a huge difference. The day is designed so you’re not just looking at buildings; you’re getting the meaning behind them. People frequently praise guides (including Brody, Mark, Hugo, Tim, Phil, Evan, Neil, and Barry) for turning ordinary stops into memorable stories—where you’re standing matters more after that kind of framing.
Here are some of the big-name stops you’ll get as part of the drive-by highlights:
- Sullivan’s Cove (the waterfront anchor for Hobart)
- Parliament House
- Salamanca Place
- Princes Park
- Battery Point
- Views across the harbor and river areas as you route through the city
There’s also a nice “local flavor” thread. You’ll see the exterior of the Cascade Brewery (viewed from outside, not treated like a tour stop), and you’ll visit the remains of the Female Factory area. That pairing is useful: it gives you both the old social story and the modern city vibe in one day.
Practical note: the coach commentary is the heart of this segment. If you prefer silent sightseeing, this might not be your style. If you like learning while you look, you’re in the right place.
Cascade Gardens and the short stretch of South Hobart
After the main city drive, the tour includes Cascade Gardens in South Hobart, with about 15 minutes to visit and walk. This is a quick stop, not a long wander. Think of it as a palate cleanser after city streets—a chance to get your eyes on greenery and river-facing scenery before the later viewpoints.
There’s one more reason I like stops like this: they break the “seat time” into smaller chunks. You’ll be doing a lot of looking out bus windows. Even a short walk resets your brain.
If you’re hoping for a long hike or lots of time for photos, don’t plan on it here. The schedule keeps moving.
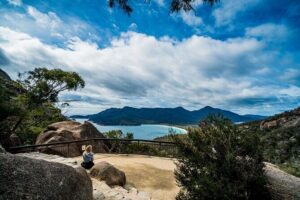
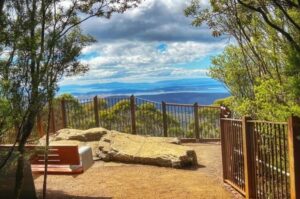
Tasman Bridge and Rosny Hill: where the views do the talking
Next up are the water-and-horizon moments that help you understand Hobart’s layout. You cross Tasman Bridge, with views over Kangaroo Bay Marina and Bellerive. That’s a key connection point in the city, and it also makes for easy orientation if you plan to explore on your own later.
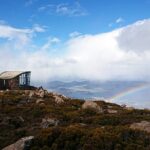
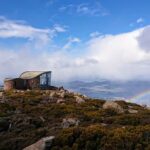
Then there’s a dedicated photo/view stop at Rosny Hill lookout. This is one of those places where even without a guide, the geography would be obvious—but the guide helps you label what you’re looking at, including:
- Hobart and surrounding suburbs
- Sandy Bay
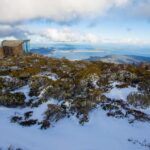
- Mount Wellington
- Tasman Bridge
- Glenorchy
If you like taking photos, aim to be ready when you get there. The lookout stop is short enough that you’ll want your camera out and your best angle quickly.
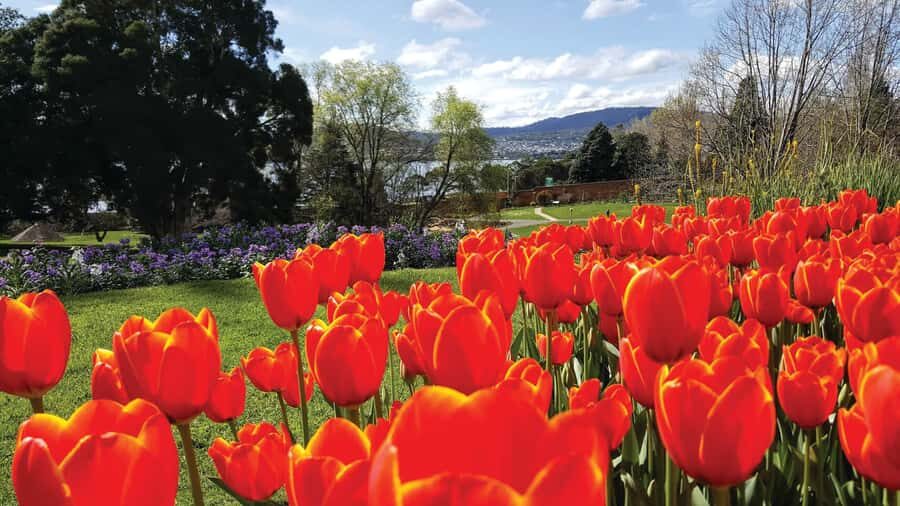
Royal Tasmanian Botanical Gardens: a break that’s worth timing
You’ll also visit the Royal Tasmanian Botanical Gardens with a break time of about 50 minutes. This is the longer “off-the-coach” window in the first half.
Why this matters: Hobart’s weather can shift fast. Having a garden break gives you a chance to slow down, reset, and decide whether you want a quick coffee or just a calm walk among plants.
One caution from how this day is paced: 50 minutes can feel just right—or just short—depending on whether you want a sit-down moment. If coffee is part of your travel ritual, plan to move a little quickly when you first arrive.
You can also read our reviews of more city tours in Hobart


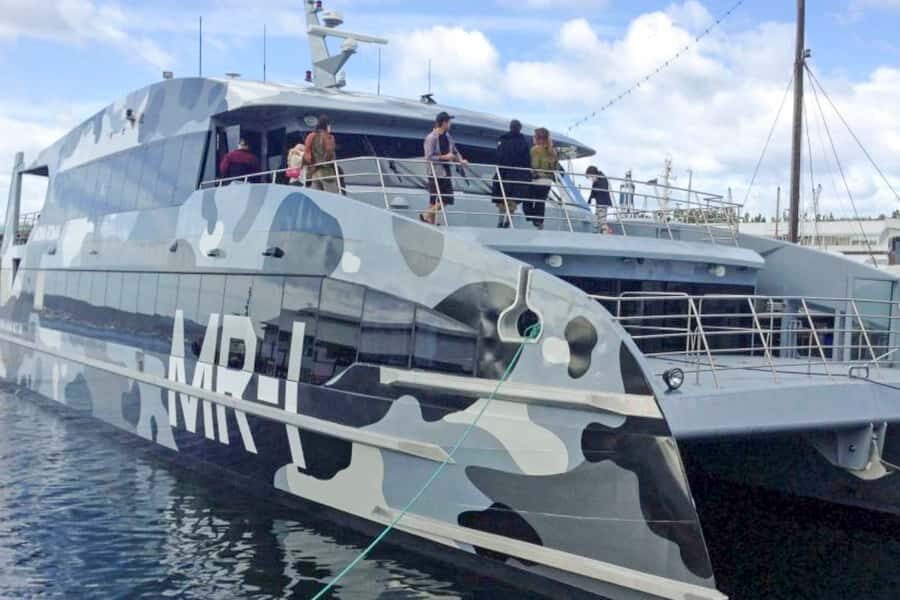
Ferry transfer to MONA: the Derwent as your reset button
This day’s move from Hobart to MONA is handled by a modern ferry, with about 30 minutes each way. The ferry isn’t just transportation. It’s a visual transition: the city fades, the river takes over, and the trip stops feeling like a checklist.
The vibe here tends to be calmer than the coach. You get a chance to look out instead of focusing on commentary. It’s also a good moment to spot coastline features and water views that you can’t really “feel” from the road.
If you get any mention of wildlife from the guide—some people talk about seeing animals like platypus—this is the kind of setting where those sightings tend to feel possible. Even when you don’t see anything, the river perspective is the payoff.
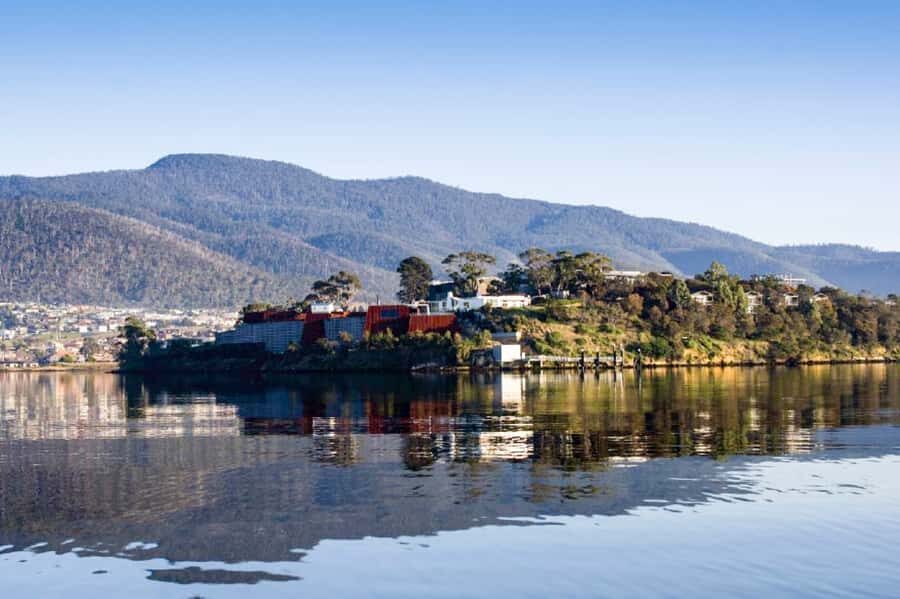
MONA: 3 hours, free time, and how to pace it
MONA is the main event of the day. You’ll arrive after the ferry and have about 3 hours of free time with your entry ticket included, plus skip-the-ticket-line support.
What to expect? MONA doesn’t do art in a polite “follow the velvet rope” way. It leans into strange, thought-provoking, sometimes uncomfortable experiences. People who love it often talk about how it mixes big ideas with interactive surprises and technical installations.
You’ll be inside a world designed to feel dark, layered, and a bit chaotic in the best way. But that also means it might not suit everyone. If you’re sensitive to intense atmospheres—or if you’re hoping for a traditional museum of paintings—you’ll want to go in with the right expectations.
How I’d pace your time:
- Start with the sections that look most interesting to you, not what you think you should do
- Don’t try to “cover” everything. With only 3 hours, speed ruins the point
- If you hit an installation style that isn’t your thing, switch rooms instead of forcing it
People describe MONA as fascinating and challenging, and others find it a bit much. That mismatch isn’t a failure of the museum—it’s just different tastes. If you like art that asks questions more than it gives answers, MONA is built for you.
Also, the day’s structure helps: you don’t have to navigate entry, tickets, or getting there. That’s handled for you, which makes it easier to spend your brainpower on the art.
Timing and comfort: getting the most from an 8-hour loop
This tour runs 8 hours total, with a schedule that keeps you moving but not frantic. Still, it’s a full day. A few practical realities to keep in mind:
- You’ll spend meaningful time on transport: coach, then ferry, then ferry back
- You’ll get short windows at stops like Cascade Gardens and Rosny Hill lookout
- The big flexible block is MONA at around 3 hours, plus a break at the botanical gardens
Comfort can depend on what vehicle you get. For operational reasons, the company may use a different vehicle than the converted coach tram described in the product concept. If you’re sensitive to comfort, it’s worth knowing that assumption could change.
My best travel tip for this kind of day: pack one “switch plan.” If MONA is more intense than expected, you can still have a good day by focusing on a few standout areas rather than pushing through everything. You’ll leave with a story either way.
Who should book this Hobart + MONA day tour
This is a great choice if:
- You want a guided introduction to Hobart without renting a car
- You like blending old-city landmarks with a modern destination
- You want MONA included with ferry transfer, so you’re not juggling timing
It’s not the best fit if:
- You hate structured sightseeing and prefer total freedom
- You’re expecting a gentle, traditional museum experience
- You’re the type who needs long sits at every stop (the schedule is short by design)
If you’re traveling as a couple, solo, or with family members who like different things (city history in the morning, odd modern art in the afternoon), this pairing works well because it gives everyone something.
Should you book Gray Line’s Hobart City Sightseeing + MONA?
If your goal is an efficient, well-connected day—Hobart highlights plus MONA with entry and ferry included—I think this tour is a solid value at $99 per person. You’re paying for organization, timing, and transport. That’s especially worth it when you’d otherwise spend time coordinating ferry schedules and museum entry on your own.
The main reason not to book is taste. If MONA’s style doesn’t sound like your thing, spend your afternoon elsewhere rather than forcing it. And if you want more time in the botanical gardens or a longer wandering pace, you might feel the clock.
My call: book it if you want a guided orientation plus a genuinely memorable modern stop. Pass if you want a slow day.
FAQ
Where do I meet the tour?
You meet at the Gray Line day-tours desk inside the Brooke Street Pier Building.
How long is the experience?
The total duration is 8 hours.
Is MONA entry included?
Yes. Your MONA ticket is included, along with skip-the-ticket-line entry support.
How do I get to MONA?
You take a modern ferry on the Derwent River to MONA, and there’s also a ferry return back to Hobart.
Is hotel pickup included?
No. Hotel pickup is not included.
How long do I have at MONA?
You have about 3 hours of free time at the Museum of Old and New Art.
What is the cancellation policy?
You can cancel up to 24 hours in advance for a full refund.