REVIEW · HOBART
Signature Wine Tour – Hobart & SE Tasmania
Book on Viator →Operated by Bespoke Tours Hobart · Bookable on Viator
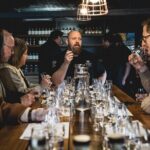
Wine country, timed to a perfect 9:30 start. This small-group day through the Derwent and Coal River Valleys is built for easy tasting—all wine tastings are included, and your guide (often Ross) keeps things fun with local stories about the wineries, plus practical tips for what to try around Hobart. The one thing to keep in mind is that the order of stops and even one venue can change with weather and availability.
Pickup is offered, you’ll ride in an air-conditioned vehicle, and the loop runs about 7 hours. It’s paced as a relaxed day out: vineyards first, then Richmond and food breaks, not a sprint. Lunch is planned at Wattlebanks Cafe & Providore, but you’ll pay for the meal yourself—so plan to bring some appetite (and a bit of cash/card for your order).
In This Review
- Key Highlights You’ll Feel From Day One
- Entering the Derwent & Coal River Valleys From Hobart
- Price and What $157.79 Actually Covers
- A Day Schedule That Stays Relaxed (Even With Four Wine Stops)
- Stop 1: Derwent Estate and the Family-Vineyard Welcome
- Stop 2: Pooley Wines and the Set-Up for a Real Tasting Day
- Lunch at Wattlebanks Cafe & Providore: Plan Your Fuel
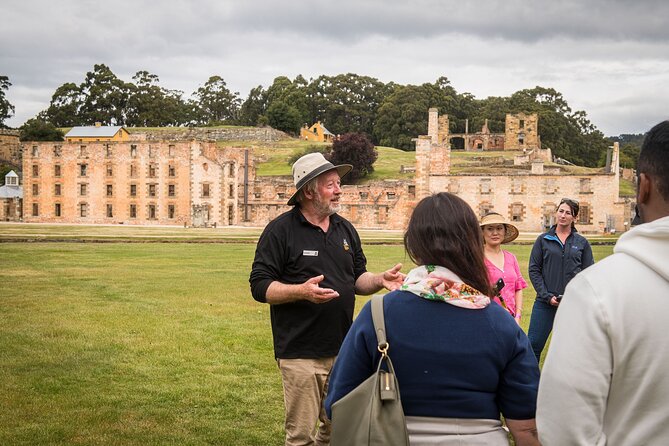
- Richmond Bridge and Historic Richmond: A Scenic Break From Wine
- Wicked Cheese Co.: The Savory Counterpoint Stop
- Frogmore Creek Cellar Door & Restaurant: Where the Day Gains Tempo
- Puddleduck Wines: A Final Walk Through Grapes and Stories
- Transport, Group Size, and How the Guide Makes It Work
- Weather and Flexible Venue Order: Why That’s Not a Red Flag
- Who This Tour Fits Best
- Should You Book Signature Wine Tour – Hobart & SE Tasmania?
- FAQ
- What time does the tour start, and how long does it take?
- How many people are in the group?
- Are wine tastings included in the price?
- Is lunch included?
- Is pickup available?
- What if the weather is bad or you need to cancel?
Key Highlights You’ll Feel From Day One
- Up to 6 people means more chat time with your guide and less time waiting around.
- Wine tastings included (plus bottled water), so you can focus on choices instead of budgeting mid-day.
- Two regions in one day: Derwent & Coal River Valley vibes, with multiple cellar-door experiences.
- Richmond Bridge + historic Richmond stop adds a sightseeing break between tastings.
- Wicked Cheese Co. tasting gives you a savory counterpoint to all that wine.
- Order can shift by weather—you’re signing up for a plan, not a rigid script.
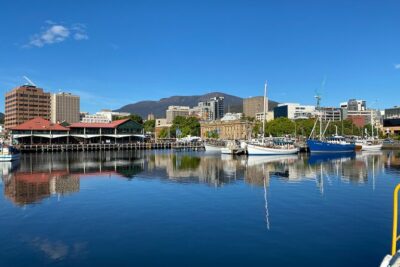
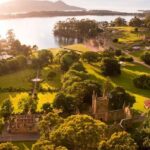
Entering the Derwent & Coal River Valleys From Hobart
Hobart’s wine scene can feel spread out, and that’s exactly why a loop like this makes sense. You get a structured day that covers the Derwent area and the Coal River Valley, with time built in for tastings and stops that don’t feel like “drive-by tourism.” For most people, the biggest win is the transport: you sip without doing math in your head.
I like that the tour keeps the group small and the schedule sane. Start time is 9:30am, and the whole experience is about 7 hours, which is long enough to feel like a real excursion but short enough to still have energy for Hobart in the evening.
The guide factor matters too. In the experiences I’m reading, Ross isn’t just pointing out grapes. He’s sharing local context—how the regions developed, what to watch for in the tastings, and even where to spend time later in town (including good options beyond wine).
You can also read our reviews of more wine tours in Hobart


Price and What $157.79 Actually Covers
At $157.79 per person, this tour sits in the “good value” zone mainly because of what you don’t have to pay for separately. The price includes:
- wine tastings at the stops
- bottled water
- an air-conditioned vehicle
- the timed structure of visiting multiple venues
The trade-off is simple: lunch is a stop, but the meal cost isn’t included. That’s not a dealbreaker. It means you can order what you genuinely want, instead of being stuck with a set menu. If you prefer a lighter lunch (or you want to avoid anything that’s too heavy after wine), you’ll have control.
Also note that you’re not paying to rent a car for a full day plus parking plus fuel. The tour handles the driving, and you handle the tasting choices.
A Day Schedule That Stays Relaxed (Even With Four Wine Stops)
This tour is designed around about four vineyard experiences for wine tastings, plus extra food-focused stops like cheese and a lunch pause. Your actual route can change depending on availability, weather, and other operational factors. That can include swapping one venue for a similar one.
What I like about that approach is it keeps the day functional. Wine regions depend on daylight, staffing, and conditions. If conditions aren’t ideal, the tour is built to adjust rather than cancel your whole plan.
Timing is also a quiet advantage. Each tasting window is short enough to keep energy up, but long enough that you’re not constantly being rushed out the door. Based on the way the day is described, it should feel leisurely, not frantic.
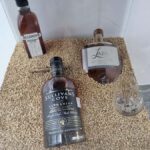
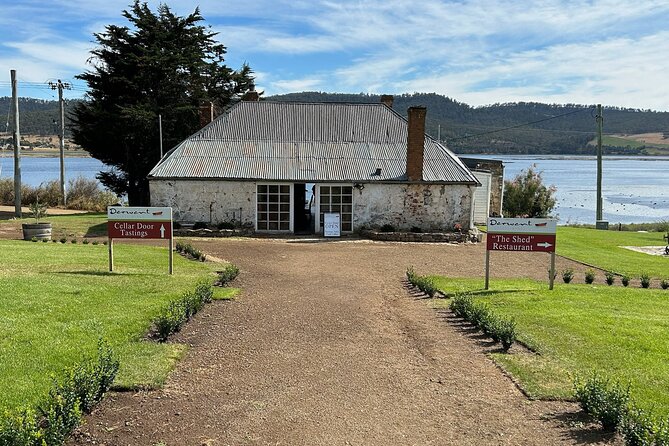
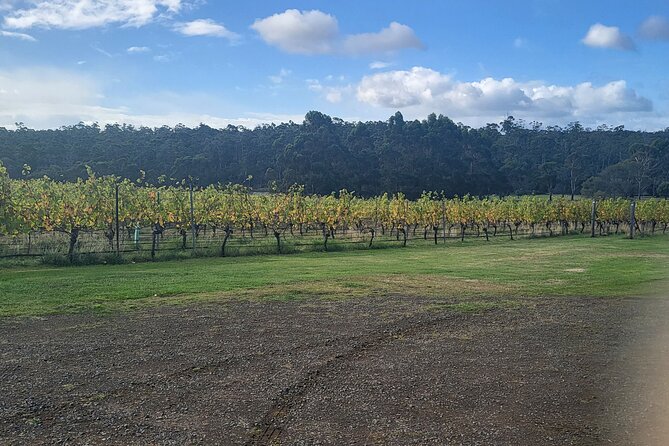
Stop 1: Derwent Estate and the Family-Vineyard Welcome
You start at Derwent Estate, and it’s a strong opener because it sets the tone early. The vineyard is described as a local family-owned operation, and the day begins with your introduction to the wines of the region. Practically, that means you’re not starting cold at your first stop. You get a bit of orientation before the tasting comparisons start.
The timing here is about 1 hour. That’s enough to learn what the style of the region tends to be, ask questions, and start building your own tasting preferences. If you’re the type who wants to understand what you’re drinking (instead of just consuming samples), this first stop is useful.
One small consideration: since it’s early in the day, go easy with your first pours. You’ll have several more tastings ahead, and the best days are the ones where you can still enjoy the later stops fully.
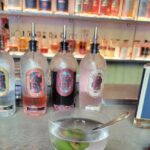
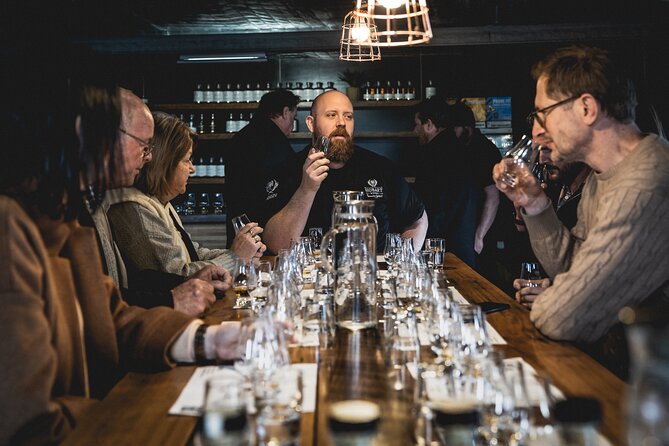
Stop 2: Pooley Wines and the Set-Up for a Real Tasting Day
Next up is Pooley Wines, with about 50 minutes on the clock. This is where the tour’s pacing really starts to work. You’re guided through wines and you’ll learn about what they’re making and why.
Pooley Wines also anchors the broader “handpicked” style of the day. Even if the exact lineup shifts a bit, the intention is to hit small, unique vineyards and keep the focus on quality tasting rather than tourism checklists.
Why this matters: you’ll be comparing styles across the regions, and you’ll need a little context to make sense of it. A structured tasting stop helps you notice differences between grape varieties and growing conditions.
If you enjoy white wine especially, this tour is often the kind of day that leaves you with a clear sense of what you liked and why. The guide can also help nudge you toward what to try next.


Lunch at Wattlebanks Cafe & Providore: Plan Your Fuel
Lunch happens at Wattlebanks Cafe & Providore, and you’ll have about 1 hour there. The stop is included, but lunch cost isn’t.
I like this setup for two reasons. First, it keeps the tour price focused on what you came for—wine tastings. Second, you can order based on your personal taste and your wine pace. If you want something light, you can choose it. If you’re hungry-hungry, you can go bigger.
Wattlebanks also feels like a good reset. You’re switching from vineyard surroundings to a more food-focused environment, which helps you keep enjoying the rest of the day rather than feeling like you’re still in tasting mode.
Practical tip: pace your wine the way you plan to eat. If you’re going heavier at lunch, it’s a good time to slow down the next tasting portions later.
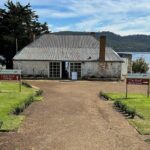
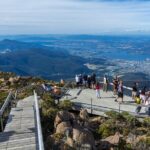
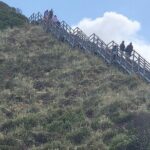
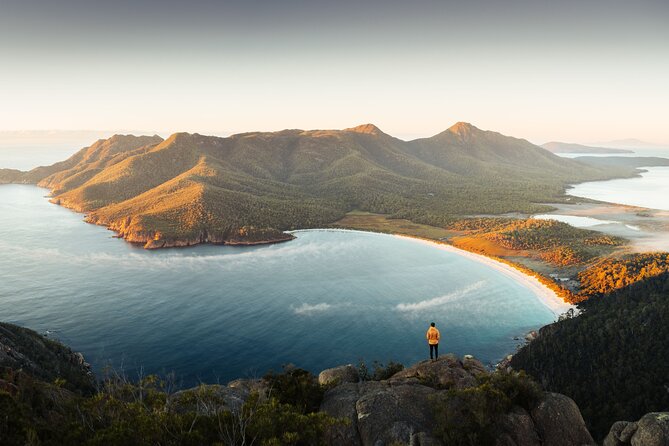
Richmond Bridge and Historic Richmond: A Scenic Break From Wine
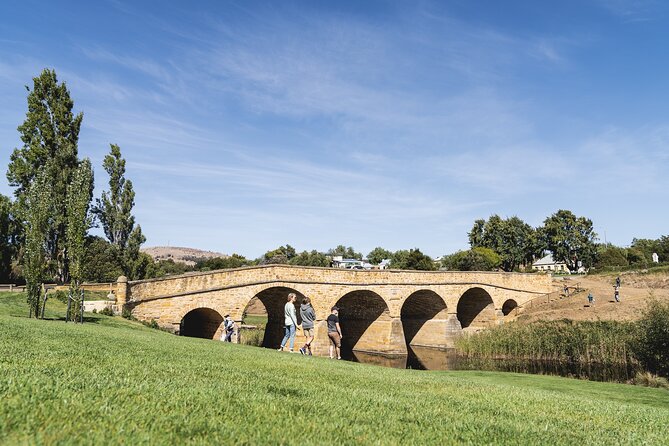
After the food stop, you’ll head to Richmond Bridge in historic Richmond. You get about 30 minutes here.
This isn’t just a photo stop. The bridge is described as Australia’s oldest bridge, and the surrounding Richmond area gives you a sense of what the region looks like beyond the vineyards. For many people, this is the perfect tempo shift: you stretch your legs, get some fresh air, and reset your palate.
Why it’s a smart inclusion: if the day were only wine stops back-to-back, you’d start feeling repetitive. Richmond breaks that up and adds contrast—architecture and town atmosphere instead of grapevines and cellar doors.
If you’re a detail person, use the time to look around. The best part of short historical stops is noticing textures and scale, not trying to read everything in 10 minutes.
Wicked Cheese Co.: The Savory Counterpoint Stop
Next is Wicked Cheese Co., with about 20 minutes for a cheese tasting. This short stop is actually a clever idea, because cheese changes the way wine tastes.
A small cheese tasting can make the day feel more complete. You’re not just sampling alcoholic beverages; you’re learning how food pairing works in real life. Even if you’re not a pairing expert, the flavors and textures tend to teach your palate quickly.
It’s also a manageable time slot. Twenty minutes is enough to taste and ask a couple of questions, then get moving without dragging the day out.
If you’re deciding whether to do this tour based on food interest: this cheese stop is one of the easiest “yes, worth it” elements.
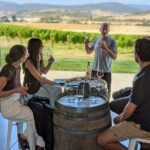
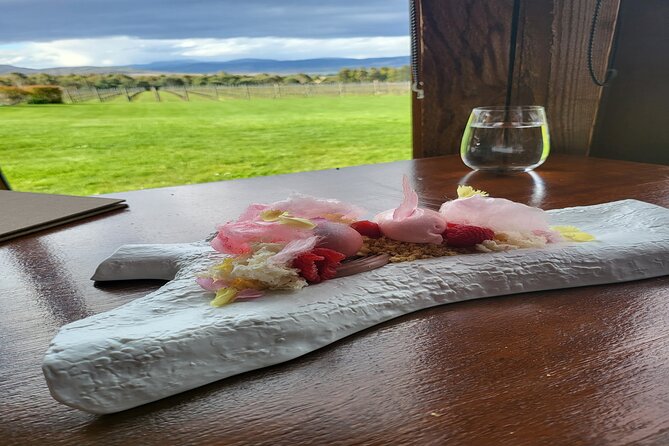
Frogmore Creek Cellar Door & Restaurant: Where the Day Gains Tempo
You’ll spend about 45 minutes at Frogmore Creek Cellar Door & Restaurant. It’s one of the four core vineyard experiences for wine tastings, and the setting adds a “sit and enjoy” feeling compared with pure tasting rooms.
The day description also notes that which vineyards appear can depend on availability, weather, and other factors. Still, Frogmore Creek is clearly part of the planned route, and it’s the kind of venue that often makes a strong mid-to-late day impression.
At 45 minutes, you’re not being squeezed. That’s important because later in the day your palate may be tired. A longer tasting window helps you keep making choices instead of just going through the motions.
If you like comparing styles, this is a useful stop to check whether your earlier favorites held up or if your tastes shifted after lunch and cheese.
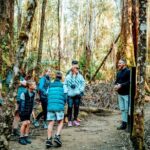
Puddleduck Wines: A Final Walk Through Grapes and Stories
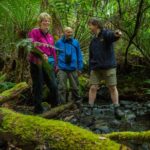
The last wine stop on the described route is Puddleduck Wines, also around 45 minutes. The experience description includes a stroll through vineyards and learning about local grape varieties and the area’s stories.
This kind of ending is a good choice because it doesn’t feel like a rushed exit from the day. A final stop with a vineyard-walk element helps you finish with a sense of place, not just a tasting counter.
It’s also a practical time length: long enough to slow down and enjoy the final pours, short enough to stay comfortable in the overall 7-hour plan.
Based on the way people describe the day, this is often where preferences solidify. If you’re hoping to pick up a bottle to remember the trip, this ending rhythm gives you time to think.
Transport, Group Size, and How the Guide Makes It Work
This tour runs with a maximum of 6 people, and that small scale shows up in the experience style. You’re more likely to get personalized pacing and more room to ask questions. In the experiences described, the guide checks preferences and gives an opportunity to try more wines at certain venues.
That matters. Tastings can be hit-or-miss if you drink everything without thought. A guide who adjusts to your tastes makes the day feel tailored, even with a fixed route.
Your group also gets to move as a unit with booked stops. The tour’s design suggests reservations are handled, so you spend less time chasing availability.
And yes, the vehicle is air-conditioned, which is a real comfort factor on a long Hobart-to-Tasmania loop.
Weather and Flexible Venue Order: Why That’s Not a Red Flag
Wine tours live and die by conditions. The day is described as requiring good weather, and the order of venues depends on availability and weather. If a venue has to be swapped, you’ll go to a similar alternative.
This approach isn’t sloppy. It’s how you keep the tour running without disappointing you with a schedule that collapses the moment the forecast changes.
My advice: plan this as a “book it for the day,” not a “book it for one exact photo location.” If you want a specific vineyard at all costs, email ahead and confirm what’s most likely on your date.
Who This Tour Fits Best
This is a great pick if you want:
- a structured, small-group wine day without driving yourself
- a mix of wine + cheese + one historic town stop
- a guide who can explain what you’re drinking and why
It’s also a strong match for couples and small groups who like conversation and don’t want a big-vehicle vibe.
If you’re looking for a super intense deep-wine-nerd seminar, you might find the pacing more relaxed than academic. But if you want an enjoyable, high-quality day where you leave knowing what you liked, it’s a solid bet.
Should You Book Signature Wine Tour – Hobart & SE Tasmania?
Yes, if you want an easy, well-paced sampler of the Derwent & Coal River Valley regions with wine tastings included and a small group size that makes the day feel personal. The mix of stops—Derwent Estate, Pooley Wines, Richmond’s famous bridge, Wicked Cheese Co., Frogmore Creek, and Puddleduck—adds variety without losing the focus.
I’d skip it only if you need a strict, unchanging itinerary down to the last venue, or if you want lunch fully included with no decision-making on your part.
If you’re doing just one wine outing from Hobart and you want it to feel like a real day out—not a rushed checklist—this one is worth booking.
FAQ
What time does the tour start, and how long does it take?
It starts at 9:30am and runs for about 7 hours.
How many people are in the group?
The tour has a maximum of 6 travelers.
Are wine tastings included in the price?
Yes. The tour includes all wine tastings, and it also includes bottled water.
Is lunch included?
Lunch is included as a stop, but lunch costs are not included.
Is pickup available?
Pickup is offered, and there is also mention of being near public transportation.
What if the weather is bad or you need to cancel?
The tour requires good weather. If it’s canceled due to poor weather, you’ll be offered a different date or a full refund. There’s also free cancellation up to 24 hours in advance for a full refund.